✨ Quickly Summarize This Post Using AI
Introduction
If you are looking for a simple but powerful manner to enhance your property’s storage and decor, learning how to put up shelves with brackets is a first-rate DIY task to start with.
Whether you need to feature space in your living room, kitchen, or workplace, this shelf installation manual will walk you through the whole lot you need to know, from selecting the proper materials to securely mounting your shelves.
In this guide, we’ll cover:
- Step-by-step instructions for installing wall shelves with brackets
- Essential tools and materials needed
- DIY shelf mounting tips for a professional finish
- Common mistakes to avoid
- FAQs for troubleshooting
Let’s dive in!
Why Install Shelves with Brackets?
Benefits of Wall-Mounted Shelves
- Maximize Storage Space: Wall shelves free up floor space, making your room look more organized.
- Versatility: Suitable for any room – kitchen, bedroom, bathroom, or office.
- Customizable: Available in different materials, sizes, and finishes to match your home decor.
- Cost-Effective: A budget-friendly alternative to bulky cabinets.
Tools and Materials Needed
Before getting started, gather the following tools and materials:
Essential Tools:
- Measuring tape
- Pencil
- Level
- Drill and drill bits
- Screwdriver
- Stud finder (optional but recommended)
- Anchors (if mounting on drywall)
Materials:
- Shelving boards
- Brackets
- Screws
- Wall anchors (for extra support)
- Sandpaper (if finishing wood shelves)
Step-by-Step Guide to Installing Shelves with Brackets

Step 1: Choose the Right Location
- Decide where you want to place your shelves.
- Use a stud finder to locate wall studs for extra support.
- If mounting on drywall, use appropriate wall anchors.
Step 2: Mark Measurements and Bracket Placement
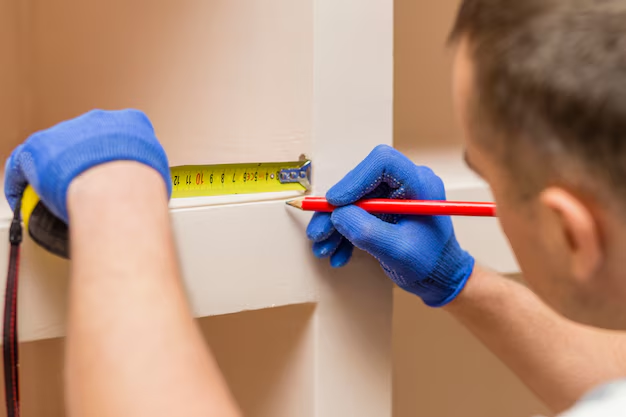
- Use a measuring tape to determine the shelf length and height.
- Mark the bracket positions on the wall with a pencil.
- Ensure even spacing and alignment using a level.
Step 3: Install the Brackets
- Drill pilot holes into the wall at the marked points.
- Secure the brackets using screws and wall anchors if necessary.
- Double-check bracket alignment before proceeding.
Step 4: Mount the Shelf
- Place the shelf on top of the brackets.
- Secure the shelf with screws (if pre-drilled holes are provided).
- Check for stability and make final adjustments.
DIY Shelf Mounting Tips
- Use a Level: Ensures shelves are perfectly horizontal.
- Choose the Right Screws: Long screws provide better grip and stability.
- Avoid Overloading: Check the weight capacity of shelves and brackets.
- Opt for Studs When Possible: Provides stronger support than drywall alone.
Common Mistakes to Avoid
- Not Using a Level: Uneven shelves look unprofessional and may not support weight evenly.
- Ignoring Studs: Mounting shelves without proper support can lead to sagging or damage.
- Skipping Pilot Holes: Increases risk of wood splitting or improper alignment.
- Using the Wrong Anchors: Weak anchors can result in shelf collapse.
FAQs
Q: Can I install shelves on drywall without studs? Yes, but you’ll need strong wall anchors to support the weight.
Q: What is the ideal shelf height? It depends on the use, but typically 12-18 inches between shelves is standard.
Q: How do I make sure my shelves are straight? Always use a level and measure carefully before drilling.
Conclusion
Installing shelves with brackets is a simple yet profitable DIY undertaking that enhances your property’s organization and aesthetics. By following this shelf installation guide, you can gain a robust and fashionable setup right away.
Ready to transform your space? Start your project today and share your experience in the comments below!


