A kitchen faucet leaking at the base is one of the most common and frustrating plumbing problems homeowners deal with. You turn on the tap, and water suddenly starts pooling around the bottom of the faucet, soaking the countertop or dripping into the cabinet below, creating both a mess and potential damage.
The good news is that in most cases, learning how to fix a kitchen faucet leaking at the base is easier than you might expect. This issue usually doesn’t require a plumber and can often be resolved in 10–30 minutes using basic tools and simple replacement parts.
In this step-by-step guide, you’ll learn how to fix a kitchen faucet leaking at the base, understand the most common reasons it happens, and know when a quick repair is enough—or when replacing the faucet is the smarter long-term solution.
By the end of this article, you’ll know:
- Why kitchen faucets leak at the base
- The exact steps to fix the problem
- The tools and parts you’ll need
- Common mistakes to avoid during repair
- When replacement is better than repair
Why Is Your Kitchen Faucet Leaking at the Base?
Before fixing the leak, it’s important to understand where the water is coming from. A base leak almost always means something inside the faucet assembly has failed or loosened.
Worn-Out O-Rings (Most Common Cause)
O-rings are small rubber seals that prevent water from escaping around moving faucet parts. Over time, they:
- Dry out
- Flatten
- Crack due to heat and mineral buildup
When this happens, water leaks down the faucet body and appears at the base.
Loose Faucet Mounting Nut
If your faucet wiggles when you move it, chances are the mounting nut underneath the sink has loosened. This allows water to seep out at the base, especially when the faucet is turned or swiveled.
Damaged Cartridge or Valve
Single-handle faucets rely on an internal cartridge to control water flow. A worn or damaged cartridge can redirect water downward, causing a base leak.
Cracked Faucet Body or Corrosion
Older faucets, especially budget models, may develop hairline cracks or corrosion. In these cases, no amount of tightening or seal replacement will solve the issue permanently.
Tools and Materials You’ll Need to Fix a Kitchen Faucet Base Leak
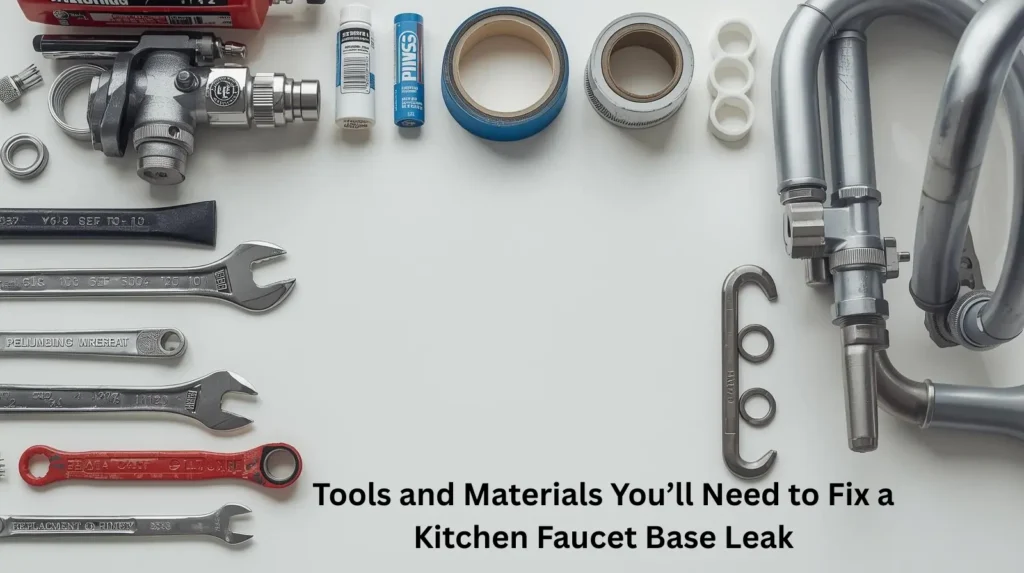
You don’t need professional plumbing equipment to fix a kitchen faucet leaking at the base. Most modern faucets, whether single-handle, pull-down, or touchless, are designed to be serviced with basic household tools.
Having the right tools ready before you start will repair faster and prevent damage to faucet components.
Basic Tools
- Adjustable wrench – Used to loosen or tighten mounting nuts and fittings under the sink
- Screwdriver (Phillips or flathead) – Required for handle screws and decorative caps
- Allen (hex) key – Commonly used on single-handle and modern faucets
- Bucket or towel – Catches residual water and protects cabinet interiors
- Flashlight or headlamp (recommended) – Improves visibility under the sink, especially in tight spaces
🔧 Latest DIY tip: Many newer faucets hide screws beneath decorative caps or behind handles. A flashlight helps locate them without forcing parts.
Materials
- Replacement O-rings (brand-specific when possible)
– O-rings vary by size and thickness, so matching the faucet brand ensures a proper seal - Plumber’s grease (silicone-based only)
– Helps O-rings seat correctly, prevents drying, and extends seal life - Cleaning cloth or microfiber towel
– Used to remove mineral buildup and debris before reassembly - Optional: Cartridge puller tool
– Helpful for older or mineral-bound cartridges, especially in hard-water areas
Step-by-Step Guide: How to Fix a Kitchen Faucet Leaking at the Base
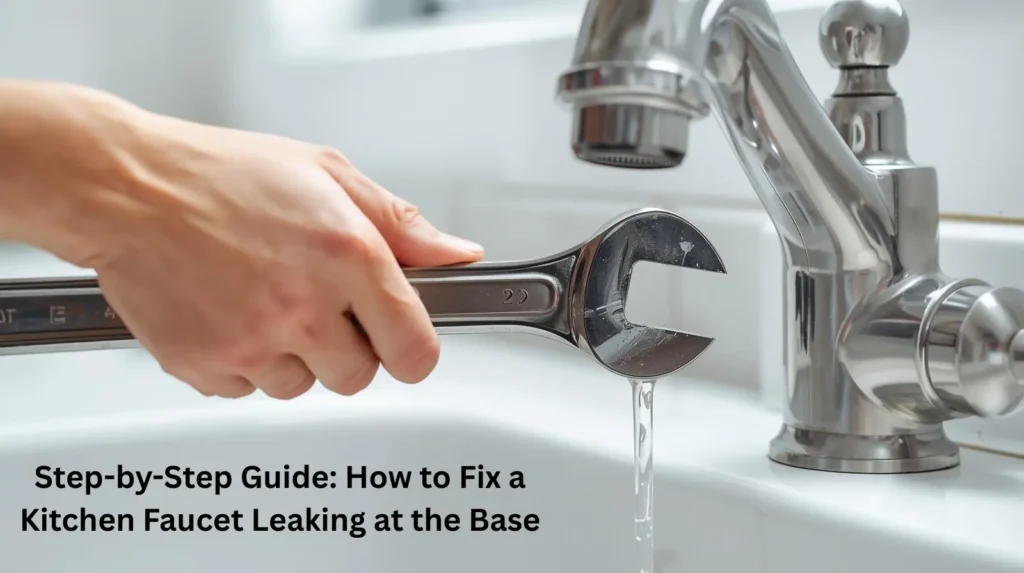
Follow these steps carefully, and most base leaks can be fixed quickly, even by beginners.
Step 1: Turn Off the Water Supply
Locate the hot and cold shut-off valves under the sink and turn them clockwise. Then open the faucet to release any remaining pressure. Skipping this step is the #1 DIY plumbing mistake.
Step 2: Remove the Faucet Handle
- Look for a small screw behind or underneath the handle
- Use an Allen key or screwdriver to loosen it
- Gently lift the handle off
Set all screws aside in a small container so nothing gets lost.
Step 3: Inspect and Replace the O-Rings
Once the handle is removed:
- Slide off decorative caps or collars
- Locate the O-rings around the faucet body
If they look flattened, brittle, or cracked, replace them.
Apply plumber’s grease to new O-rings before installation, which ensures a proper seal and longer lifespan.
Step 4: Tighten the Faucet Base
Go underneath the sink and locate the mounting nut securing the faucet.
- Tighten gently using an adjustable wrench
- Do not overtighten; this can crack fittings or warp the sink
A snug fit is all you need.
Step 5: Reassemble and Test
- Reinstall all components in reverse order
- Turn the water supply back on slowly
- Test the faucet at low and high pressure
- Rotate the faucet side to side
If no water appears at the base, the fix was successful.
Kitchen Faucet Base Leak – Quick Fix Comparison Table
| Problem Identified | DIY Fix Required | Time Needed | Skill Level |
| Worn O-ring | Replace O-ring | 10–15 minutes | Beginner |
| Loose base | Tighten the mounting nut | 5–10 minutes | Beginner |
| Faulty cartridge | Replace cartridge | 20–30 minutes | Intermediate |
| Cracked faucet body | Full replacement | 1–2 hours | Intermediate |
This table helps homeowners quickly diagnose the issue and decide whether DIY repair makes sense.
When Should You Replace the Faucet Instead of Fixing It?
While most base leaks are repairable, replacement is the smarter choice if:
- The faucet is 10–15 years old
- You’ve fixed the leak multiple times already
- There’s visible corrosion or cracking
- Replacement parts are unavailable or expensive
In many cases, a new faucet improves water efficiency, reliability, and appearance—especially during kitchen upgrades.
Common Mistakes to Avoid While Fixing a Faucet Base Leak
Even though fixing a kitchen faucet leaking at the base is usually a simple DIY task, small mistakes can turn a quick repair into a recurring problem or even cause additional damage. Being aware of these common errors will help you complete the repair correctly the first time.
Forgetting to Shut Off the Water Supply
This is the most common and messiest mistake. Failing to turn off both hot and cold water valves can lead to sudden water spray when the faucet is disassembled, soaking cabinets, and damaging nearby items.
Best practice: Always shut off the valves under the sink and open the faucet briefly to release pressure before starting.
Using the Wrong O-Ring Size
O-rings are not one-size-fits-all. Using an incorrect size, even if it looks similar, can prevent a proper seal and cause the faucet to leak again shortly after repair.
Best practice: Match the O-ring to your faucet brand and model whenever possible, or take the old ring with you for accurate replacement.
Overtightening Mounting Nuts
Tightening the faucet base too aggressively can crack fittings, damage the sink surface, or warp internal components. This often leads to leaks that are harder to diagnose later.
Best practice: Tighten mounting nuts until snug, not forcefully tight.
Skipping Plumber’s Grease
Dry O-rings wear out faster and can twist during installation, causing immediate or future leaks.
Best practice: Use silicone-based plumber’s grease only, never petroleum jelly, which can degrade rubber seals.
Reassembling Parts Out of Order
Modern faucets contain multiple small components that must be reinstalled in the correct sequence. Incorrect assembly can affect water pressure, handle movement, or sealing.
Best practice: Lay parts out in the order you remove them or take a quick photo before disassembly.
Ignoring Mineral Buildup and Debris
Hard water deposits and debris around the faucet base can prevent seals from seating properly, even when new parts are installed.
Best practice: Clean all components with a cloth (or mild vinegar solution if needed) before reassembly.
Tips to Prevent Kitchen Faucet Leaks in the Future
Preventive maintenance goes a long way in extending faucet life.
- Periodically check and tighten mounting nuts
- Clean mineral buildup with vinegar
- Avoid forcing the handle
- Replace O-rings at the first sign of wear
These simple habits can prevent future base leaks entirely.
A well-functioning kitchen isn’t just about fixing leaks; it’s also about maintaining balance and harmony throughout your home. If you’re planning broader home improvements, especially in shared living spaces, understanding proper layout and energy flow can make a noticeable difference. You may also find our guide on feng shui living room arrangement helpful, which explains how simple placement changes can improve comfort, positivity, and overall home balance.
FAQs: Kitchen Faucet Leaking at the Base
This usually indicates worn O-rings or a failing cartridge that leaks under pressure.
Yes. Most base leaks are beginner-friendly DIY fixes requiring minimal tools.
DIY repair: very low cost (O-rings and grease)
Professional repair: higher cost depending on labor
Most fixes take 10–30 minutes, depending on the issue.
Not immediately, but ignoring it can lead to cabinet damage, mold, and higher water bills.
Conclusion
A kitchen faucet leaking at the base may look like a serious plumbing issue, but in most cases, it’s a simple DIY repair. With basic tools, a little patience, and the steps outlined above, you can fix the problem in minutes and avoid unnecessary plumbing costs.
Addressing leaks early not only protects your kitchen but also extends the life of your faucet and saves money in the long run.